
Introduction: Embarking on Your Avian Adventure
The world of bird watching, or birding, is a captivating journey into nature’s vibrant tapestry. Starting your birding adventure doesn’t require a significant financial investment or an extensive collection of specialized gear. Instead, it hinges on a few core tools that enhance your ability to observe, identify, and appreciate the avian life around you. This guide demystifies the essential gear for new bird watchers, focusing on practicality, comfort, and the most effective ways to engage with your new hobby, whether in your backyard, a local park, or a more distant natural reserve. Remember, the most important tools in birding are patience, keen observation, and a genuine curiosity about the natural world—every piece of equipment you choose should serve a genuine purpose.
Understanding Your Birding Goals and Environment
Before you purchase a single item, reflect on your birding aspirations. Your goals and the environments you plan to explore will significantly influence your gear choices.
- Backyard Birding: Observing the common visitors to your feeders and garden. This requires less robust gear, focusing on comfort and local identification: a comfortable chair, a good field guide for local species, and binoculars that are easy to grab for short observations.
- Local Park & Trail Birding: Exploring nearby green spaces on foot, where you’ll encounter a wider variety of species. Portability and versatility matter here: binoculars comfortable to carry for long periods and a field guide covering a broader range of regional birds.
- Nature Reserve & Wilderness Birding: Trips to dedicated birding hotspots or remote natural areas. Here, durability, optical quality, and specific identification resources take precedence, including weatherproofing and perhaps a spotting scope as you advance.
For most beginners, a straightforward setup that allows for comfortable observation and confident identification in familiar local settings is ideal.
The Essential Core: What You Absolutely Need
Every bird watcher relies on a few fundamental pieces of equipment. These are the cornerstones of your birding kit, designed to help you see, identify, and record your observations.
1. Binoculars: Your Eyes to the Avian World
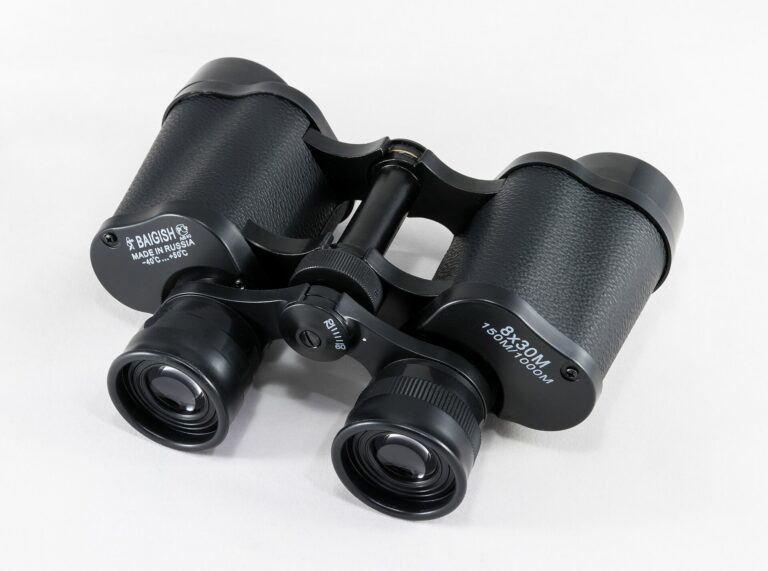
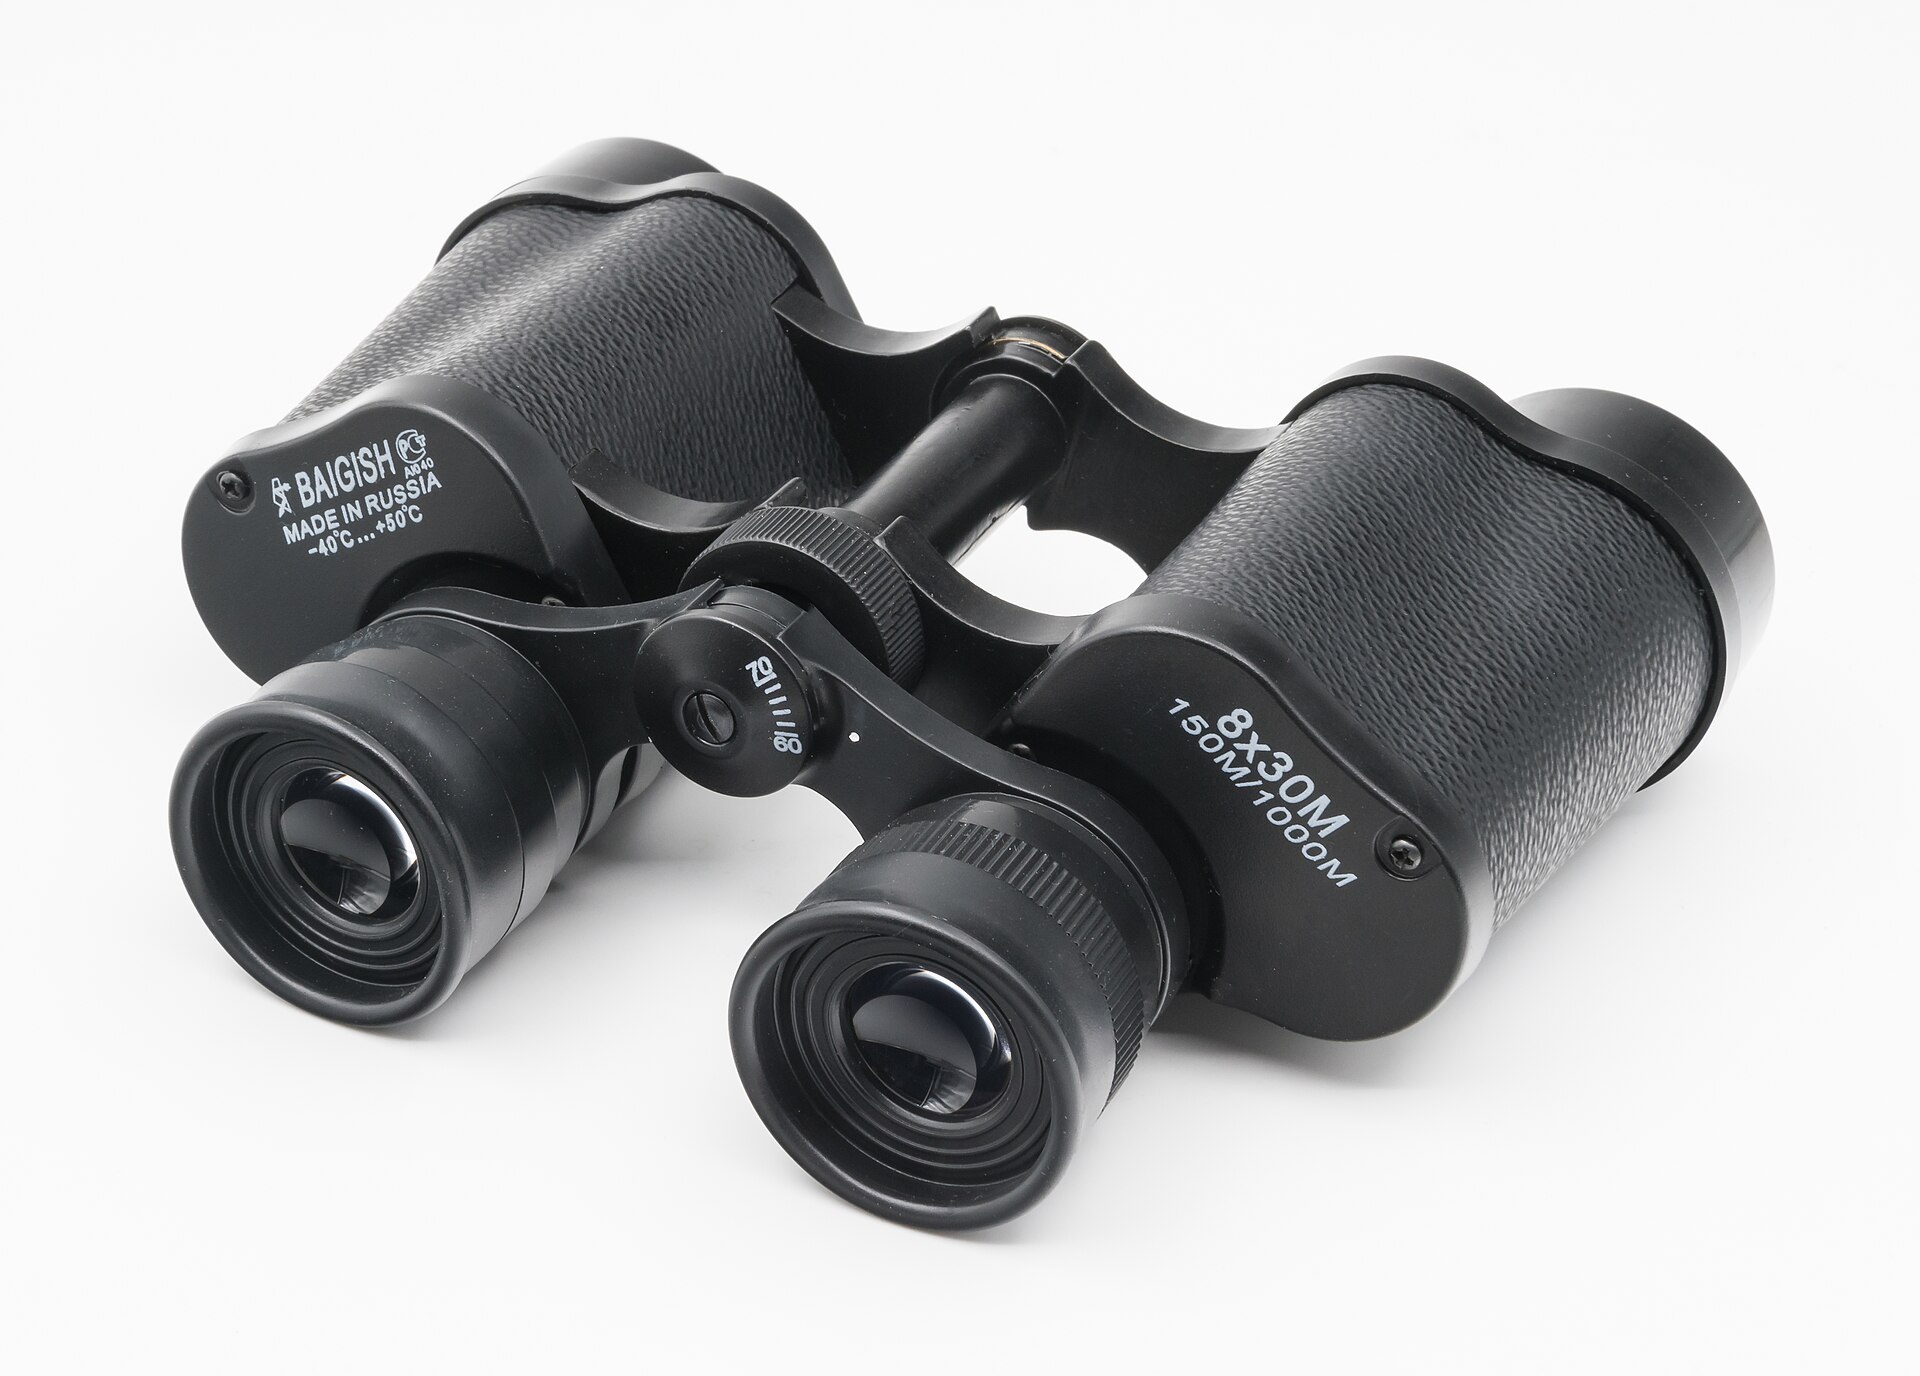
Binoculars are the single most important piece of equipment for any bird watcher. They are your gateway to seeing the intricate details of plumage and the distinguishing features that separate one species from another, all from a respectful distance.
Choosing the Right Binoculars for Beginners:
- Magnification and Objective Lens (e.g., 8×42 or 10×42): The first number indicates magnification; the second is the diameter of the objective lens (the front lens), which determines how much light enters. An 8×42 is often recommended for beginners: it offers a wide field of view, is stable enough to hold without significant hand shake, and gathers ample light in low conditions like dawn or dusk. A 10×42 brings birds closer but has a narrower field of view and magnifies hand tremors, so it suits very steady hands or open areas.
- Field of View (FOV): A wider FOV makes finding and tracking fast-moving birds much easier.
- Weight and Ergonomics: Look for a lightweight, well-balanced pair with rubber armor for a secure grip and protection against bumps.
- Eye Relief: Important for eyeglass wearers; look for 15mm or more, often indicated by adjustable twist-up eyecups.
- Waterproofing and Fogproofing: Nitrogen or argon purging prevents internal fogging, ensuring clear views on humid mornings.
- Glass Quality: Look for “fully multi-coated lenses,” which improve light transmission and image brightness.
Practical Binocular Use Tips:
- Finding the Bird: Locate the bird with your naked eyes first, then slowly bring the binoculars up to your eyes. Bring the binoculars to the bird, rather than searching for the bird through them.
- Focusing: Set the diopter once for each eye, then use the central focus wheel for general focusing, ensuring both eyes are properly accommodated.
- Neck Strap or Harness: A wide strap or harness distributes weight across your shoulders, reducing neck strain during long sessions.
- Steadying Your View: Brace your elbows against your body or rest them on a stable surface like a fence post or tree trunk.
Identification Caution: Even with good binoculars, identifying a bird can be challenging. Observe multiple features: size, shape, color patterns, beak shape, leg color, tail length, flight pattern, and behavior. A single flash of color can be misleading—a quick glimpse of red might suggest a Northern Cardinal, but closer inspection could reveal a House Finch. Always look for a combination of field marks.
2. Field Guides: Your Avian Encyclopedia
Once you’ve spotted a bird, the next step is identification. A good field guide helps you identify species based on visual characteristics, habitat, and behavior.
Choosing the Right Field Guide:
- Regional Specificity: This is paramount. A guide specific to your state or region focuses on species you are likely to encounter and is far more useful than a general continental guide.
- Illustrations vs. Photographs: High-quality illustrations (like Sibley Guides) can highlight key features more clearly than photos and can depict multiple plumages on one page, while photographic guides (like Audubon) offer realism. Review both to see which you prefer.
- Layout and Ease of Use: Look for logical organization, clear range maps, concise descriptions, and multiple views of birds.
- Portability: Consider size and weight if you plan to carry it into the field; many birders prefer a lighter guide for fieldwork and a comprehensive one for home study.
Digital Field Guides and Apps:
Mobile apps have revolutionized field identification. Apps like eBird and Merlin Bird ID (from the Cornell Lab of Ornithology) offer numerous advantages: they stay up-to-date with range changes, include bird calls and multiple photos, and can suggest species based on location, date, size, and color. Merlin’s Sound ID feature can even identify birds by their call. Many apps let you log sightings, contributing to citizen science and building your personal birding list.
Field Observation Tip: Learn about common birds in your area before you go birding. Knowing what to look and listen for makes identification much faster and more confident.
3. Notebook or Birding App: Documenting Your Discoveries
Keeping a record of your observations is a powerful learning tool. It helps solidify identification skills, track seasonal changes, and create a personal archive of your journey.
- Traditional Notebook: A small, waterproof notebook and a pencil (which won’t run if wet) are perfect. Jot down the date, time, location, weather, species, key field marks, behavior, and habitat. A quick sketch, even rudimentary, can be incredibly helpful.
- Birding Apps (e.g., eBird, iNaturalist): These offer structured ways to log sightings with GPS tagging, photo uploads, and integration with scientific databases. You can create checklists, track your life list, and explore hotspots.
Practical Example: Spot a small bird and note: “May 10th, 8:15 AM, local park, near oak tree. Sunny, 60°F. Small bird, greenish back, yellowish belly. Two white wing bars. Dark stripe through eye. Gleaning insects from leaves.” Cross-referencing these features and the call with a field guide can confidently identify a Yellow-rumped Warbler in breeding plumage.
Beyond the Essentials: Enhancing Your Experience
Beyond binoculars and a field guide, a few other items can significantly improve your comfort and effectiveness in the field.
4. Appropriate Clothing and Accessories: Comfort is Key
Birding often means spending time outdoors in varying weather. Dressing appropriately is crucial for comfort and can even aid observation.
- Layers: Dress in layers you can add or remove as temperatures change, so you can adapt to fluctuating conditions.
- Neutral Colors: Muted, natural colors (greens, browns, grays) help you blend in and be less conspicuous to shy species.
- Comfortable Footwear: Sturdy, comfortable, preferably waterproof shoes or boots are essential for uneven terrain.
- Hat: A brimmed hat protects from sun and rain, reduces glare, and improves visibility.
- Sunscreen and Insect Repellent: Protect yourself; sunburn and bites can quickly ruin an outing.
- Water Bottle and Snacks: Stay hydrated and energized, especially on longer outings.
- Small Backpack or Vest: A daypack or multi-pocket birding vest keeps binoculars, field guide, and notebook easily accessible.
5. Optional but Useful Equipment (Consider as You Progress)
- Spotting Scope: Offers much higher magnification (20-60x) for distant waterfowl, shorebirds, or raptors, but requires a tripod and is less portable. Excellent for stationary observation, but not necessary for beginners who are primarily walking.
- Camera: A camera with good zoom documents sightings and captures memories. Start with your smartphone and upgrade if photography becomes a passion.
- Portable Chair or Stool: A lightweight foldable stool can be a back-saver for extended observation at a feeder or hide.
- Bird Call Apps or Recorders: Learning calls is a game-changer; use playback responsibly and sparingly, as it can stress birds.
- Headlamp/Flashlight: For early morning or late evening birding; red-light settings are less disruptive to wildlife.
- Power Bank: Keeps your smartphone charged on longer outings if you rely on apps.
Practical Tips for Using Your Gear and Enhancing Your Skills
Having the right gear is only half the battle; knowing how to use it effectively is equally important.
- Practice: Familiarize yourself with your binoculars and field guide in a low-pressure environment like your backyard, practicing finding objects and focusing quickly.
- Patience: Birds don’t always appear on cue. Sit quietly, observe, and let the birds come to you; sudden movements scare them away.
- Use All Your Senses: Listen! Calls and songs are often the first indication of a bird’s presence and crucial for identification.
- Learn Bird Behavior: A bird clinging upside down to a trunk is likely a nuthatch, while one spiraling up a trunk is probably a creeper—behavior offers identity clues.
- Observe the Habitat: Different birds prefer different habitats; knowing whether you’re in forest, grassland, marsh, or garden narrows the possibilities.
- Respect Wildlife: Maintain a respectful distance, avoid disturbing nesting birds, and use playback sparingly. The well-being of the birds should always be your top priority.
- Join a Bird Walk: Local birding organizations offer guided walks where you can learn from experienced birders and get real-time identification help.
Supporting Your Birding Journey: Community and Continuous Learning
Birding is a journey of continuous learning, and you don’t have to go it alone.
- Join Local Birding Groups: Audubon chapters, bird clubs, and nature societies organize guided walks and workshops, often with loaner binoculars for beginners.
- Online Communities: eBird, regional Facebook groups, and forums are great places to ask questions, share sightings, and get quick identification help.
- Citizen Science Projects: The Great Backyard Bird Count and Christmas Bird Count contribute valuable data to research and sharpen your observation skills.
- Workshops and Courses: Nature centers and universities offer beginner-friendly workshops on identification, optics use, and bird photography.
Sources and Further Reading
- Cornell Lab of Ornithology: A world leader in bird research and conservation, offering courses, guides, and sound libraries.
- eBird: A global database of bird observations and an excellent tool for finding birds and exploring distribution data.
- Audubon Society: A prominent conservation organization with regional guides and birding tips.
- RSPB: The UK’s largest nature conservation charity, with resources for identification and conservation.
- Sibley Guides to Birds: Highly regarded for detailed illustrations and comprehensive coverage.
- Peterson Field Guides: Classic guides known for arrows pointing to key field marks.
Conclusion: Your Journey Begins Here
Starting your birding journey doesn’t require a significant investment in expensive gear. With a reliable pair of binoculars, a good regional field guide (or app), comfortable clothing, and a curious mind, you have everything you need to begin. Focus on learning the fundamentals, practicing your observation skills, and enjoying the process. Happy birding!
