
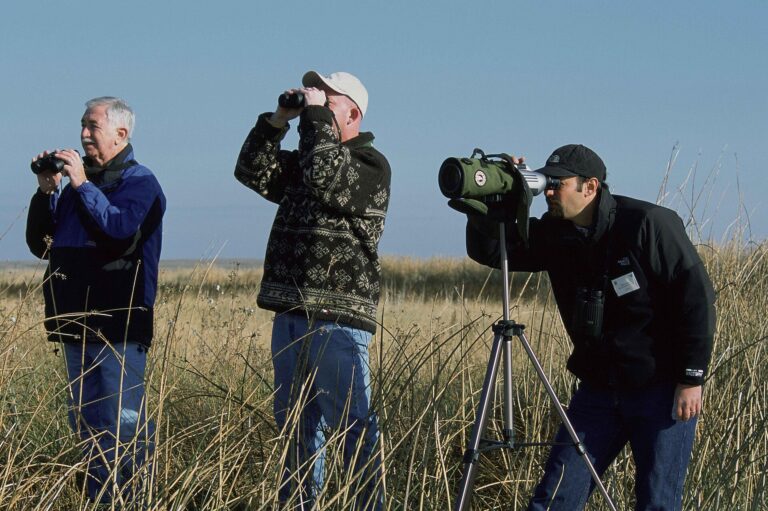
Introduction: Your Gateway to the Avian World
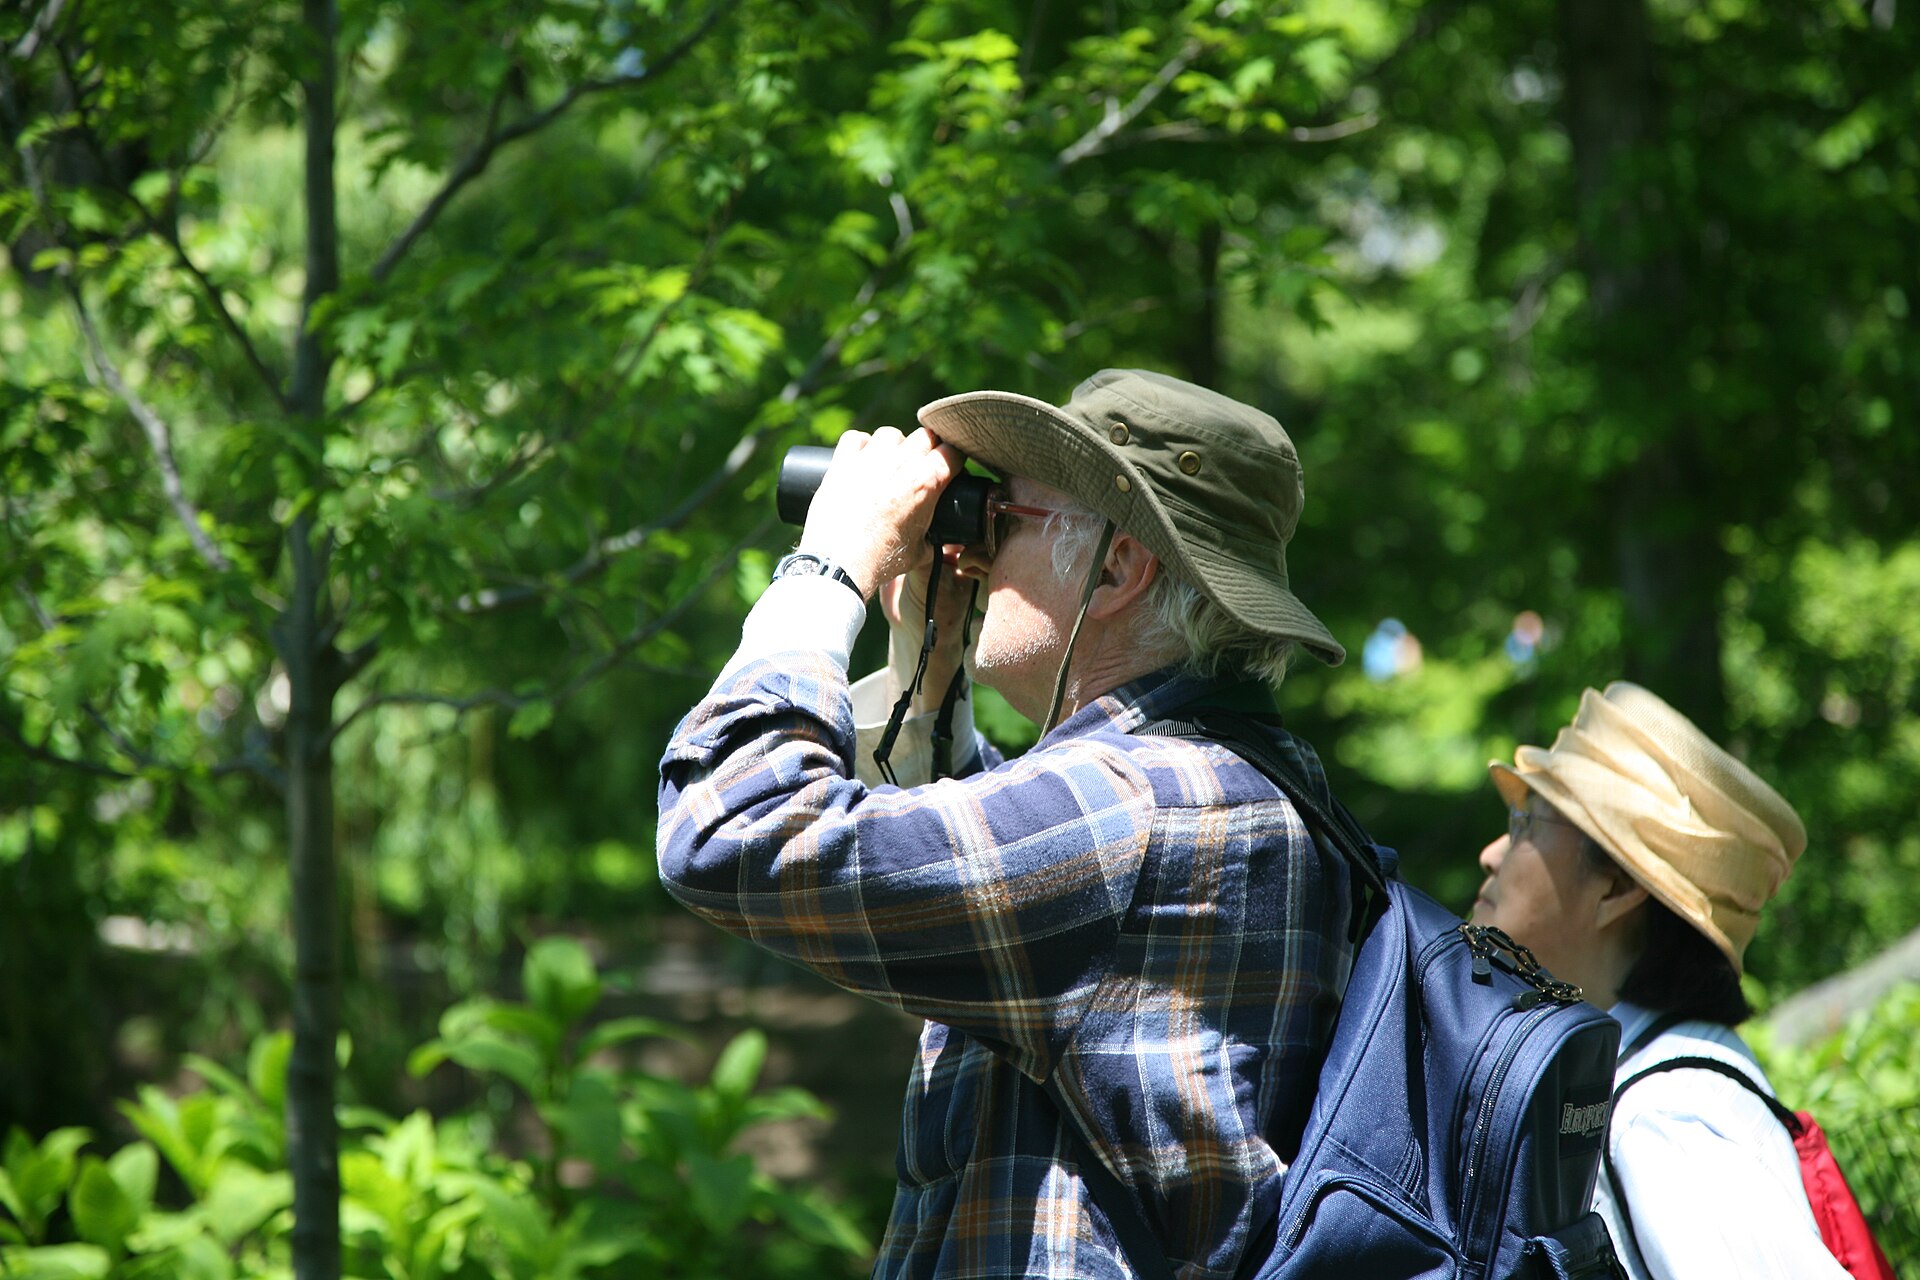
For any aspiring birder, binoculars are not just an accessory; they are an indispensable extension of your eyes, bridging the gap between you and the often-elusive avian world. They transform distant blurs into vibrant, detailed creatures, revealing the intricate patterns, subtle behaviors, and unique characteristics essential for accurate identification.
This comprehensive guide is designed to equip beginner birders with the knowledge and practical skills needed to choose the right binoculars, handle them effectively, and, most importantly, use them as powerful tools for identifying birds in their natural habitats. Mastering your binoculars will not only enhance your birding success but also deepen your appreciation for the natural world around you.
Choosing the Right Binoculars for Birding: Your First Crucial Step
Before you even step into the field, selecting the appropriate binoculars lays the foundation for a rewarding birding journey. The market is flooded with options, but for birding, understanding a few key specifications will narrow your choice considerably. The two most critical numbers you’ll encounter are magnification and objective lens diameter, typically presented as ‘8×42′ or ’10×42’.
Understanding Magnification and Objective Lens Diameter
These two numbers are the most fundamental specifications of any binocular. They dictate how close an object appears and how much light the binoculars can gather, directly impacting your viewing experience.
Magnification (the first number, e.g., ‘8x’)
This number tells you how many times closer an object appears through the binoculars compared to the naked eye. For instance, an 8x magnification means a bird 80 feet away will look as if it’s only 10 feet away.
For beginners, 8x binoculars are often recommended as they offer a wider field of view and are easier to hold steady, reducing frustration. This wider view makes it simpler to locate and track fast-moving birds.
Objective Lens Diameter (the second number, e.g., ’42mm’)
This refers to the diameter of the large lenses at the front of the binoculars, measured in millimeters. These are the lenses that face the bird and gather light.
A 42mm objective lens is a popular choice for birding, offering a good balance of light-gathering capability and manageable weight. It’s a versatile size that performs well in most birding scenarios.
Common Birding Configurations
When you combine magnification and objective lens diameter, certain configurations emerge as favorites among birders due to their balanced performance.
Beyond the Numbers: Optical Quality and Ergonomics
While magnification and lens size are important, they don’t tell the whole story. The quality of the internal optics and the binocular’s physical design significantly impact your viewing experience and overall satisfaction.
Optical Coatings
The surfaces of binocular lenses and prisms are often treated with special coatings. These thin layers of material are critical for image quality.
Prism Type
Binoculars use prisms to correct the image orientation (otherwise, it would appear upside down and reversed) and to shorten the optical path, making the binoculars more compact.
Close Focus Distance
This specification tells you how close an object can be while still remaining in focus. It’s an often-overlooked feature that can greatly enhance your birding experience.
Eye Relief
Eye relief is the distance from the eyepiece lens to your eye where the full field of view is visible. This is particularly important for glasses wearers.
Weight and Balance
You’ll be carrying and holding these binoculars for extended periods, sometimes for hours. Therefore, comfort is paramount.
Durability and Weatherproofing
Birding happens in all sorts of conditions, from sunny days to unexpected rain showers. Your binoculars need to be able to withstand the elements.
Focus Wheel
The focus wheel is your primary interface for bringing birds into sharp view. Its design and operation are crucial for quick and precise adjustments.
Practical Example of Binocular Choice
Imagine you’re at a local park, observing a variety of birds. With 8×42 binoculars, you might easily track a warbler flitting through a tree, appreciating its overall shape and movement, and identifying its general species.
Handling Binoculars in the Field: Achieving Stability and Clarity
Even the best binoculars are ineffective if not handled correctly. Proper technique ensures stable views, reduces eye strain, and allows you to quickly acquire and focus on your target.
The Art of the Steady Grip and Posture
Stability is paramount for clear viewing, especially with higher magnifications. The slightest tremor can turn a sharp image into a blurry mess, making identification difficult.
- Two-Handed Grip: Always hold your binoculars with both hands. Your dominant hand typically operates the focus wheel, while your other hand supports the barrel, providing crucial stability.
- Elbows In: Keep your elbows tucked close to your body. This creates a more stable platform, reducing arm fatigue and minimizing shake. Think of your arms as natural tripods supporting the binoculars.
- Lean or Sit: Whenever possible, lean against a tree, fence post, or even your car. If you can sit down, do so. This significantly reduces body movement and provides a much steadier view, especially for prolonged observations.
- Use the Neck Strap: While not for support during viewing, a good neck strap (preferably a wide, comfortable one) keeps your binoculars secure when not in use and allows them to be quickly brought to your eyes. A harness-style strap can distribute weight more evenly and prevent neck strain.
Mastering the Focus Mechanism: From Blurry to Brilliant
Most binoculars have two primary focusing mechanisms: a central focus wheel and a diopter adjustment. Understanding how to use both is essential for a crisp, clear image.
- Setting the Diopter (One-Time Adjustment): This is crucial for compensating for differences in vision between your two eyes. It’s a setting you typically only do once unless your vision changes or someone else uses your binoculars.
- Close or cover the right objective lens (the one furthest from the diopter ring, which is usually on the right eyepiece).
- Look through the binoculars with your left eye and use the central focus wheel to bring a distant, stationary object into sharp focus. Choose something with clear details, like a brick wall or a tree branch.
- Now, open your right eye and close or cover the left objective lens.
- Without touching the central focus wheel, rotate the diopter ring (usually on the right eyepiece) until the same object is perfectly sharp for your right eye.
- Once set, you typically won’t need to adjust the diopter again. From then on, only use the central focus wheel for focusing on different distances.
- Using the Central Focus Wheel (Ongoing Adjustment): This is your primary tool for bringing birds into sharp view as they move or as you observe different subjects.
- When you spot a bird, quickly bring the binoculars to your eyes, aiming them in the general direction.
- Locate the bird in your field of view.
- Turn the central focus wheel until the bird is crisp and clear. Practice makes perfect here; aim for smooth, swift adjustments to capture fleeting moments.
Practical Example of Focusing
You’ve just spotted a small bird perched high in a tree. Instead of frantically searching through the binoculars, first locate the bird with your naked eye. Your brain is remarkably good at finding the target quickly.
Adjusting for Comfort and Clarity: Eyecups and Interpupillary Distance
These two adjustments are vital for comfortable viewing and ensuring you see the full, unvignetted image your binoculars offer.
Using Binoculars to Identify Birds: Beyond the First Glimpse
Once you’ve mastered the mechanics of your binoculars, the real fun begins: using them as powerful tools for detailed observation and identification. Bird identification is a multi-faceted process, and binoculars allow you to gather the crucial visual clues that often go unnoticed by the naked eye.
Observing Key Features: The ID Checklist
Binoculars bring distant birds close enough to reveal the subtle details that differentiate species. Train your eyes to look for these critical features, systematically scanning the bird from head to tail.
- Plumage Coloration and Patterns: This is often the first thing people notice. Look for specific colors, streaks, spots, bars, or patches on the breast, back, wings, and head. For instance, a bright yellow belly with black streaks might point to a specific warbler, while a plain brown back with a white rump could indicate a Northern Flicker in flight. Note the intensity and distribution of colors.
- Size and Shape (Overall Impression): How big is the bird compared to a familiar object (e.g., a robin, a sparrow)? What is its general body shape? Is it slender or chunky? Long-necked or short-necked? Pay attention to the tail length and shape (forked, notched, rounded, square). This “jizz” or overall impression is often the first clue.
- Bill Structure: The bill is a powerful indicator of a bird’s diet and often, its species. Is it long and thin (hummingbird, probing shorebird), short and conical (seed-eater like a finch), hooked (raptor), or broad and flat (duck, flycatcher)? The bill’s color and any markings can also be important.
- Legs and Feet: While harder to see, leg length and foot structure can offer clues, especially for wading birds (long legs) or raptors (strong talons). Note the color of the legs and feet.
- Head Markings: The head often holds a wealth of identification features. Look for eye-rings (a circle of color around the eye), eye-lines (a stripe through the eye), spectacles (markings resembling glasses), crowns (a distinct cap of color), caps, or malar stripes (mustache-like markings). These are often very distinctive and can be key field marks. For example, a white eye-ring can be a key feature for identifying a vireo.
- Wing Patterns: When a bird is perched or in flight, look for wing bars (bands of color on the wings), primary projection (how far the primary feathers extend beyond the tertials), and overall wing shape. The presence or absence of wing bars, and their color, can be crucial for distinguishing between similar species.
Identification Caution
Remember that plumage can vary significantly by age, sex, season, and even individual. What you see in a field guide might be an adult male in breeding plumage, while your bird might be a juvenile or a female in non-breeding plumage.
Assessing Behavior and Habitat: Contextual Clues
Binoculars not only show you what a bird looks like but also how it acts and where it lives. These contextual clues are invaluable for identification, often narrowing down possibilities even before you examine plumage details.
Integrating Field Guides and Apps: Your Portable Birding Library
Your binoculars are for observation; your field guide or birding app is for comparison and confirmation. Always have one handy to cross-reference the details you observe.
Field Observation Tip
When you spot a bird, try to commit as many details as possible to memory before consulting your guide. What color is its cap? Does it have wing bars? What’s the shape of its bill? How does it behave?
Practical Tips for Effective Birding with Binoculars
Beyond the technical aspects, a few practical habits can significantly improve your birding success and enjoyment. These tips will help you get the most out of your equipment and your time in the field.
Conclusion: Your Enhanced Birding Journey Awaits
Mastering the use of binoculars is a transformative step in any birder’s journey. From the initial selection of the right pair to the nuanced art of field observation, every technique discussed here contributes to a richer, more successful birding experience.
