
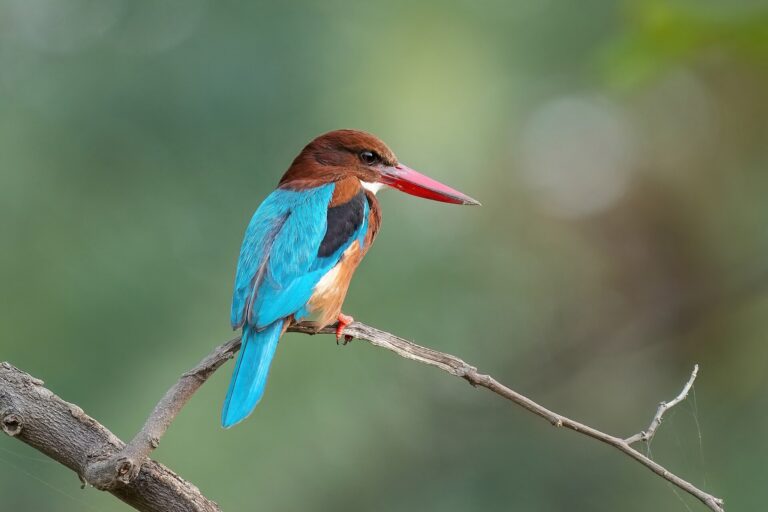
Introduction: The Art and Science of Bird Color Observation
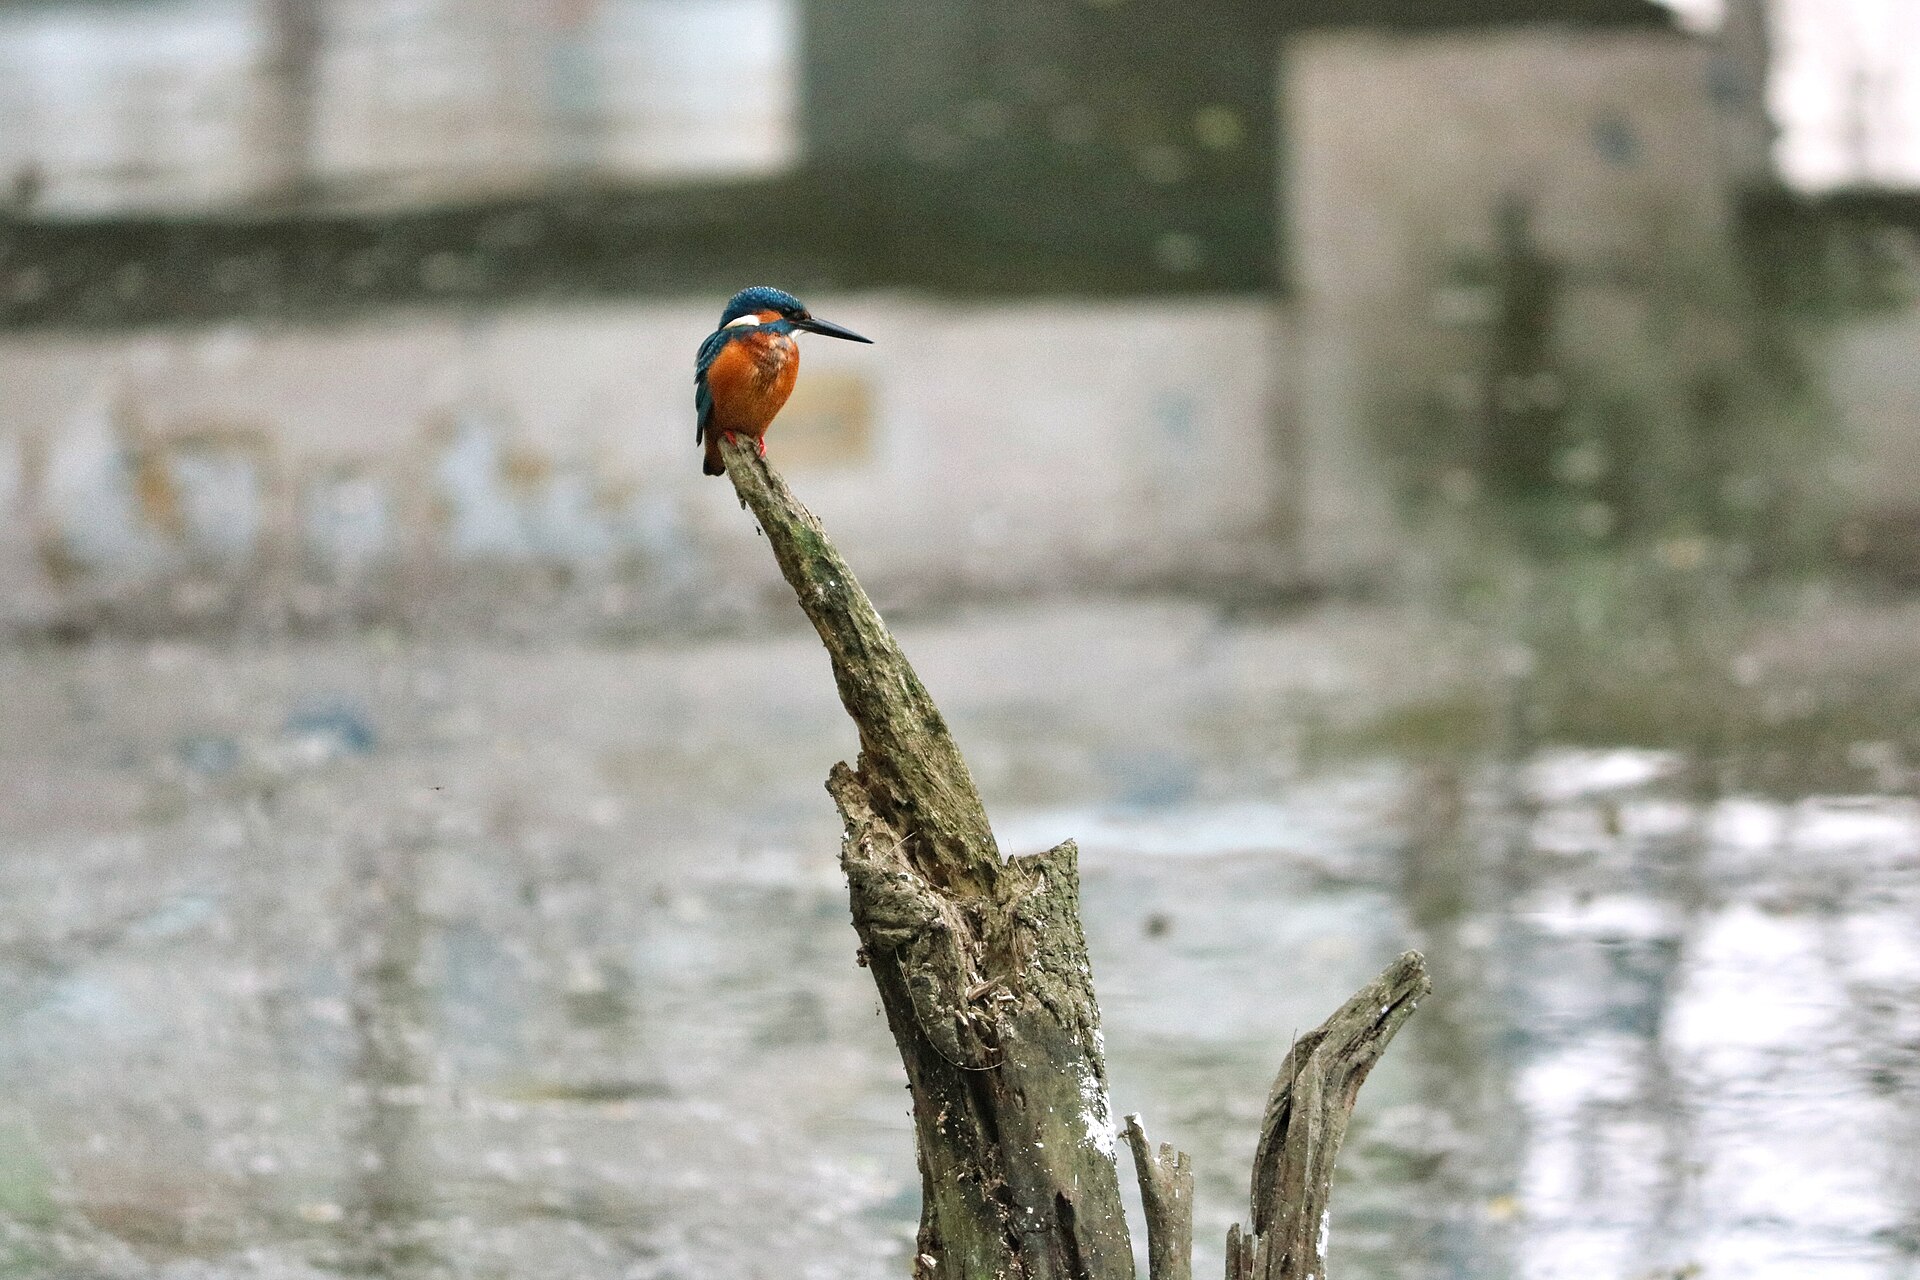
Accurately observing and recording a bird’s colors is one of the most fundamental birding skills – and often the key to separating species that look otherwise similar. But colors shift with lighting, season, age, and sex, so a systematic approach matters. Rather than relying on a single fleeting impression, this guide offers a worksheet-based method for documenting key color features before you try to identify the bird, improving both your accuracy and your confidence in the field.
Understanding the Kaleidoscope: The Science Behind Bird Color Identification
Bird coloration comes from three sources. Pigments – carotenoids produce yellows, oranges, and reds, while melanins produce blacks, browns, and grays – are deposited in the feathers, either made by the bird or obtained from food (a Northern Cardinal’s reds and yellows come from its diet). Structural color arises from the microscopic structure of the feathers scattering light, creating blues and greens without blue or green pigment – a Blue Jay’s azure is structural, not pigmented. Understanding these sources helps you interpret what you see and describe it accurately.
Iridescence is a special structural color that shifts as the viewing angle or light changes, as with a hummingbird’s throat or the sheen on a Common Grackle’s head. These features are not static: they vary by age (juvenile vs. adult plumage), sex (sexual dimorphism), and season (breeding vs. non-breeding). Knowing, for example, that a male American Robin’s breast is brighter orange in breeding season can prevent a misidentification. Recording all of this carefully before you identify is essential.
The Indispensable Role of a Color Worksheet in Birding
A color worksheet works like a pilot’s pre-flight checklist: it prompts you to notice every key feature during the brief, exciting moments a bird is in view, and prevents the common beginner mistake of jumping to an identification from a single color impression – such as assuming every flash of yellow is a goldfinch when it might be a warbler with distinct wing bars. It encourages holistic observation of plumage, bill, legs, and eye color, turning subjective impressions into objective, repeatable notes. The written record also serves as a learning tool you can review later to solidify your skills.
Deconstructing Color: Key Elements to Note in Your Color Worksheet
Work through these elements in order so your notes are complete and consistent from one sighting to the next.
1. Overall Plumage Color and Pattern
Start by noting the dominant color and how it is distributed. Is the bird uniform, or does it show a clear bipartite (dark above, light below, like many sparrows) or tripartite (distinct head, body, and tail) pattern? Is it spotted, streaked, barred, or plain? A European Starling looks black from a distance but shows iridescent purples and greens close up; a Mourning Dove is a soft gray-brown. Specific markings count, too – the black spots on a Hermit Thrush’s breast and the barring on a Northern Flicker’s back are reliable field marks.
2. Specific Body Parts: A Detailed Color Inventory
These regions often hold the most diagnostic color clues.
- Head: note the crown, face, and throat, plus any eye-rings (as on a White-eyed Vireo), eye-lines, superciliary eyebrow stripes (prominent on a White-throated Sparrow), or whisker-like malar stripes (on a Downy Woodpecker). A male House Finch has a red forehead and throat contrasting with its brown streaky body.
- Back and Wings: solid or patterned? Look for wing bars (common on vireos and warblers), the iridescent speculum on a Mallard’s wing, or contrasting patches like the Northern Mockingbird’s white wing flashes, visible in flight.
- Underparts: compare belly, breast, and flanks to the upperparts. A Song Sparrow’s streaked breast contrasts with the Chipping Sparrow’s clean white belly, a critical differentiator.
- Tail: check for white outer tail feathers (as in the Dark-eyed Junco or Vesper Sparrow) or a brightly colored rump like the Northern Flicker’s, often the first thing seen as the bird flies.
3. The Distinctive Colors of Bill, Legs, and Feet
The bill can range from dull black to bright yellow, red, or pink, and can change seasonally – a European Starling’s bill is yellow in breeding season and dark in winter, while a Common Tern has a red bill with a black tip. Note whether the upper and lower mandibles differ in color. Legs and feet also vary from gray to bright yellow (the Greater Yellowlegs) or pink. A bright yellow bill with pinkish legs points to a very different species than a dull black bill with dark legs, even if the plumage is similar.
4. The Gaze: Eye Color and Surrounding Features
Note whether the eye is dark, pale, or vividly colored – a Red-eyed Vireo has a red iris, a Great Horned Owl a bright yellow eye, and many sparrows dark eyes. Also check the bare skin around the eye, such as an eye-ring or the lore (the area between the eye and bill), and remember that eye color can change with age, as in young gulls whose dark eyes lighten over time.
5. The Shimmer and Shine: Iridescence and Structural Colors
Iridescent colors shift with angle and light, so record whether the plumage appears shiny or metallic, and note the light direction for later comparison with field guide images. Think of a hummingbird’s throat or the glossy head of a male Mallard. A Common Grackle’s head looks black in poor light but reveals brilliant blues, purples, and greens in direct sun.
6. The Dynamics of Plumage: Variations, Molt, and Age/Sex Differences
Plumage is not static. Watch for molt – the shedding of old feathers for new – which can make a bird look ragged and less colorful than its field guide image. Note sexual dimorphism and age differences when you can, such as ‘male in breeding plumage’ or ‘juvenile with streaky breast.’ A male American Goldfinch is bright yellow in summer but dull olive-brown in winter, while the female stays a subdued yellow year-round; juvenile European Starlings are dull brown and streaky, very different from the iridescent adults.
Practical Tips for Cultivating Accurate Color Observation Skills
- Embrace overcast light: diffused, even light gives the most neutral, accurate colors and minimizes harsh shadows and glare. The subtle olive tones on a warbler’s back are far easier to see on a cloudy day than under midday sun.
- Avoid direct sun: bright sun washes out color and creates glare; keep the light at your back so the bird isn’t reduced to a silhouette.
- Use references cautiously: field guide photos are taken in specific light and often show bright breeding colors, so treat them as a general guide, not an exact match for what you see.
- Take notes immediately: memory is fallible, especially during an exciting sighting, so jot quick bullet points or sketches right away in a notebook or phone app.
- Consider a color chart: a Munsell chart or birding palette helps you move beyond vague terms like ‘light brown’ to more specific hues.
- Use good optics: quality binoculars and spotting scopes reveal subtle feather and eye details that are invisible to the naked eye, so practice focusing quickly.
- Practice: describe common backyard birds in detail before looking them up to build your observational muscle.
Integrating Your Meticulous Notes into the Identification Process
Once your worksheet is complete, compare your notes to regional field guides and online databases like eBird or the Audubon Society. Look for a convergence of features rather than a single color. Think of it as assembling a puzzle: each color note is a piece, and only when all the pieces fit does the full picture of the bird emerge. For example, a bird with a bright yellow bill, gray head, and clean white underparts is likely a European Starling in breeding plumage, while a similar bird with a dull black bill and streaky brown head is probably a juvenile starling or a different passerine. Consider size, shape, behavior, and habitat too – color is only one part of the overall identification strategy, but documenting it thoroughly gives you a reliable foundation for every other clue.
Additional Resources and Community Support for Your Birding Journey
Invest in a detailed regional field guide, such as the Sibley or Peterson guides, that illustrates seasonal, age-related, and sexual plumage variation. Online communities and apps let you upload photos or detailed descriptions for expert feedback, and the Cornell Lab of Ornithology offers species accounts, identification tips, and sound recordings. Joining a local birding club or attending guided walks provides hands-on learning and connects you with experienced birders who can help you confirm observations and grow your skills.
Sources and Further Reading
- Cornell Lab of Ornithology – A leading authority on birds, with extensive identification, behavior, and conservation resources.
- eBird – A global database of bird observations, with species maps, photos, and a platform for submitting sightings.
- Audubon Society – Dedicated to bird conservation, offering field guides and local chapter information.
- RSPB – A UK-based conservation charity with excellent identification and ecology resources.
- Regional field guides (e.g., Sibley, Peterson, National Geographic) specific to your area.
